I am going to show you how I made a case to carry my HP Touchpad (scored during the HP Fire sale... can you say 32 GB for $150?!?!). This case can be used for a laptop, Netbook, iPad, etc.
Let's get started.
Materials
- 4 pieces measuring 11.5 " x 9.5" (2 pieces for outside panels and 2 pieces for lining fabric. You can use two different fabrics if you'd like.)
- 2 pieces each measuring 11.5" x 9.5"
fusible interfacing
batting
- 2 pieces measuring 5" x 14"
- 1 piece each measuring 5" x 5"
fabric
fusible interfacing
- small piece of Velcro (or some other type of closure)
- 10 inch zipper
- about 8 strips of freezer paper that are 1" x 12"
(SN: be sure to measure your device to determine how big your pouch should be. I measured my Touchpad and added an inch to both the length and the width, I wanted a snug fit. Also, adjust the strap lengths to fit your needs.)
Directions
1- Measure your device and to get the dimensions for your fabric, interfacing and batting.
2- Cut pieces according to the measurements.


6- Stitch along each side using a straight stitch. Set aside.

8- Pin batting to the outside panel pieces.
9- With the iron, press freezer paper in 1"increments (I didn't measure, just eyeballed it) onto panels.


12- Take your pocket piece (5" x 5") and fold it each edge toward the inside about 1/4". Press.
9- Fold down the top of your pocket about 1" and press.

11- Sew close to the edge of the 1" fold to secure it.

12- Center the corresponding Velcro piece on of the panels and sew into place. Again, I sewed a square around the perimeter.

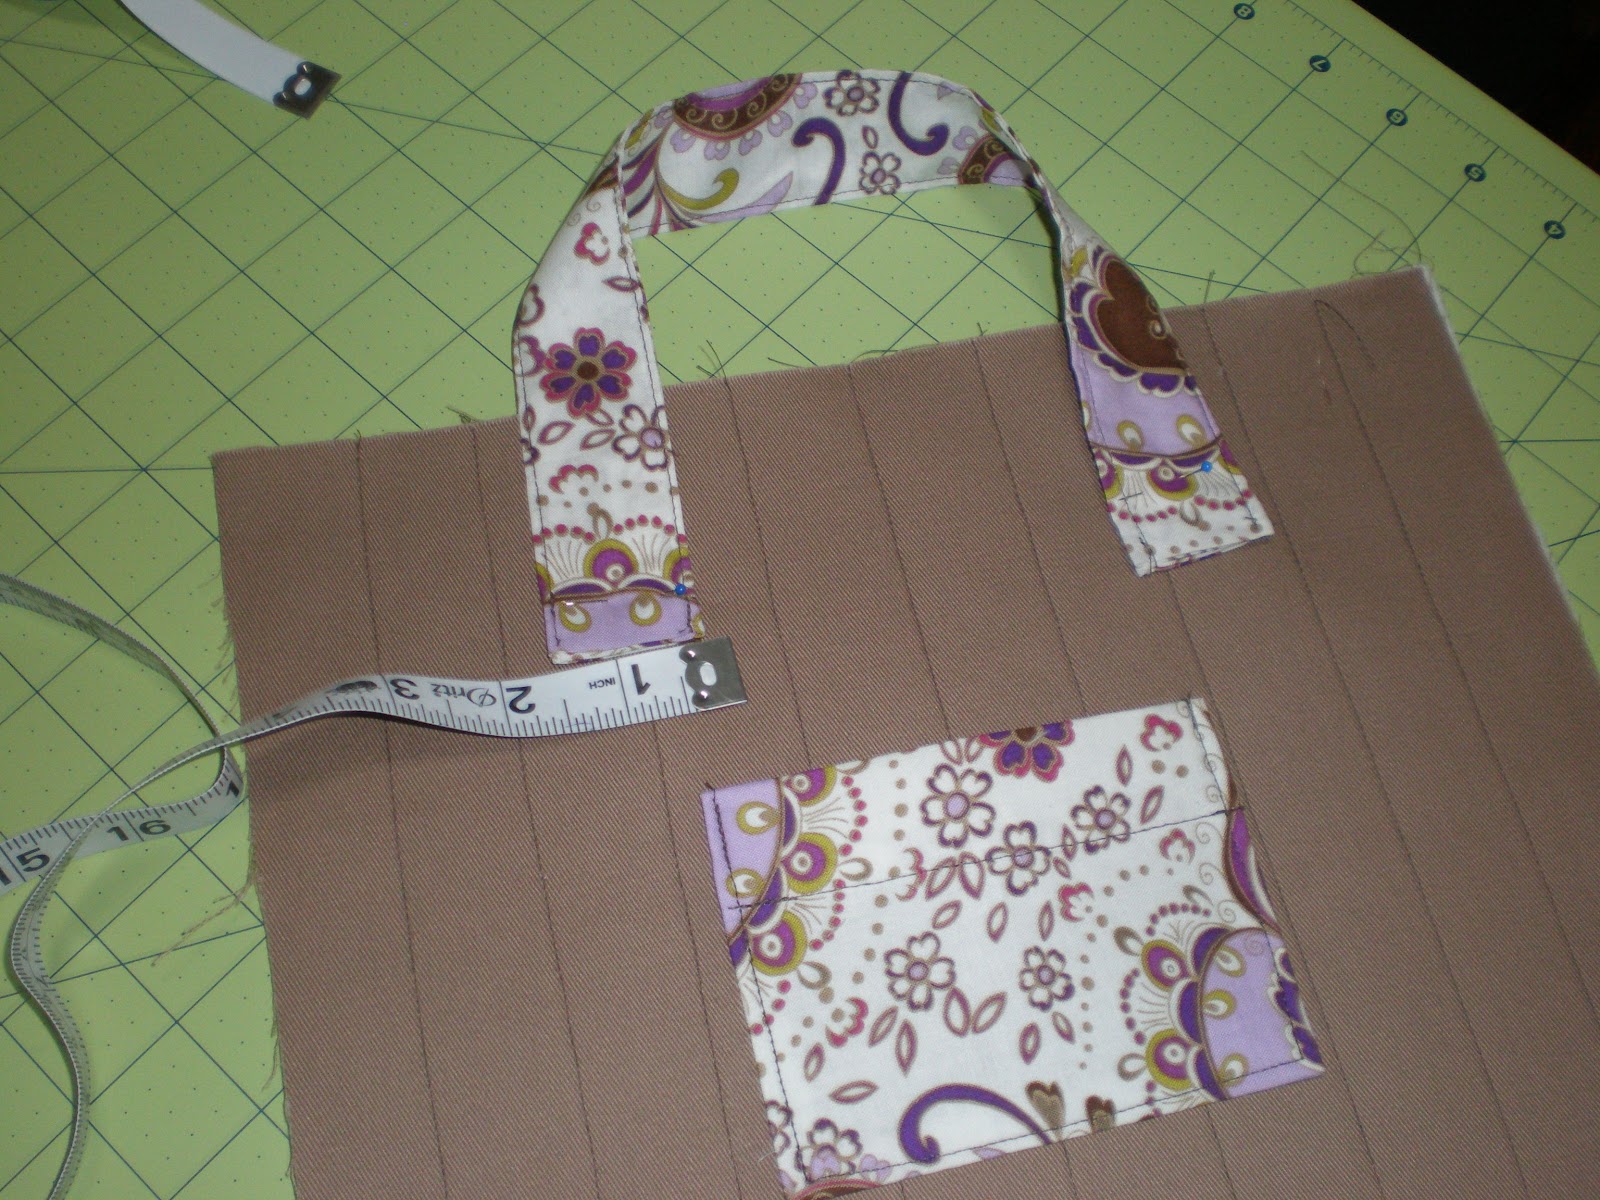
14- Pin straps in place making sure they are not twisted. To attach the straps, sew a square close to the bottom of the strap on each outside panel piece...we don't want them to fall off! Be sure they match up on both outside panel pieces.


16- Open fabric so that right sides are facing out. Press.
17- Take the second lining piece, lay it face-up. Place the zipper (with lining facing down) and line the zipper edge with the top of the fabric. Place the remaining panel face-down. Make sure all edges are even and stitch together.

18- Open fabric so that one piece of lining and one panel are on either side of the zipper. Press into place and sew close to the zipper on both sides.

---This is an important step to ensure the lining does not get caught in the zipper.

19- Open your zipper half way and open your piece so that the two outer surfaces (or pretty sides) of both the lining and the panels touch. Pin in place and sew around the perimeter leaving a 3 in opening on the lining side (so you can flip the bag inside out). Sorry, no picture of this. :-(
20- Trim your seams and corners. Flip your pouch right side out and stitch closed the hole in your lining. Press all seams for a crisp look.
All done!


I hope you try this easy project!